Car Seat Safety by Age
Sarah Mitchell
Sarah Mitchell is a Registered Pediatric Nurse and a mother of three who has spent over a decade helping families navigate the beautiful, chaotic early years of childhood. She combines evidence-based medical knowledge with real-world parenting experience to offer practical, compassionate advice. At Awesome Parent, Sarah's mission is to help exhausted parents find solutions, trust their instincts, and finally get some sleep.
If you have ever stood in the car seat aisle holding a box that looks like it requires an engineering degree, you are in good company. As a pediatric nurse and a mom of three, I can tell you this: you do not need to be perfect. You just need a few clear rules and a couple of quick checks you can repeat every time.
This guide walks you through rear-facing, forward-facing with a harness, booster seats, and when a kid is truly ready for the seat belt alone, based on current American Academy of Pediatrics (AAP) recommendations and best practice safety standards.

The big picture rules (AAP guidance in plain English)
- Rear-facing as long as possible. The AAP recommends children ride rear-facing to the maximum height or weight allowed by their car seat.
- Harness before booster. When kids outgrow rear-facing, they should ride in a forward-facing car seat with a harness as long as possible, up to the seat’s limits.
- Booster until the seat belt fits correctly. Many children need a booster until roughly 4 feet 9 inches tall, often somewhere in the ages 8 to 12 range, but the real answer is whether they pass the 5-step test in your vehicle. Some kids need a booster beyond 12 depending on seat belt fit.
- Back seat is safest. Children should ride in the back seat until at least age 13.
Important: car seats are rule-followers. Always use the limits printed on your specific seat and your vehicle manual, even if a friend’s kid “moved up” earlier.
Car seat stages by age, weight, and height
Age can be a helpful starting point, but height and weight limits on the seat decide when it is time to change stages. Here is a practical roadmap most families can follow.
Stage 1: Rear-facing infant seat (often: birth to 12 to 18 months)
Best for: Newborns and young babies who fit well in a carry-in “bucket” seat.
- Typical limits: Many infant seats go to 30 to 35 lb and have a height limit that varies by model (often somewhere around 30 to 35 inches). Check your label.
- When you are done: When baby hits the max weight or height, or their head is close to the seat’s top-of-shell requirement (commonly needing at least 1 inch of shell above the head, but follow your manual).
Newborn note: For little babies, aim for the recline angle range allowed by your seat (often 30 to 45 degrees) and keep an eye on head position. If baby’s chin is dropping toward the chest, recheck recline and harness fit and follow your manual.
Parent-to-parent tip: Many babies outgrow infant seats by height before weight. Long-torso kids will keep you humble.
Stage 2: Convertible seat rear-facing (after outgrowing the infant seat, often through toddler years and beyond)
Best for: Babies and toddlers who have outgrown the infant seat, or families who start with a convertible from birth.
- Goal: Stay rear-facing until you hit the maximum rear-facing limit of your convertible seat. Many models allow rear-facing to around 40 to 50 lb, and some go higher.
- Why it matters: Rear-facing better protects the head, neck, and spine during a crash, especially for toddlers whose bodies are still developing.
Common worry: “Their legs look cramped.” Kids are remarkably flexible. Bent legs are not a safety problem. Turning too early is.
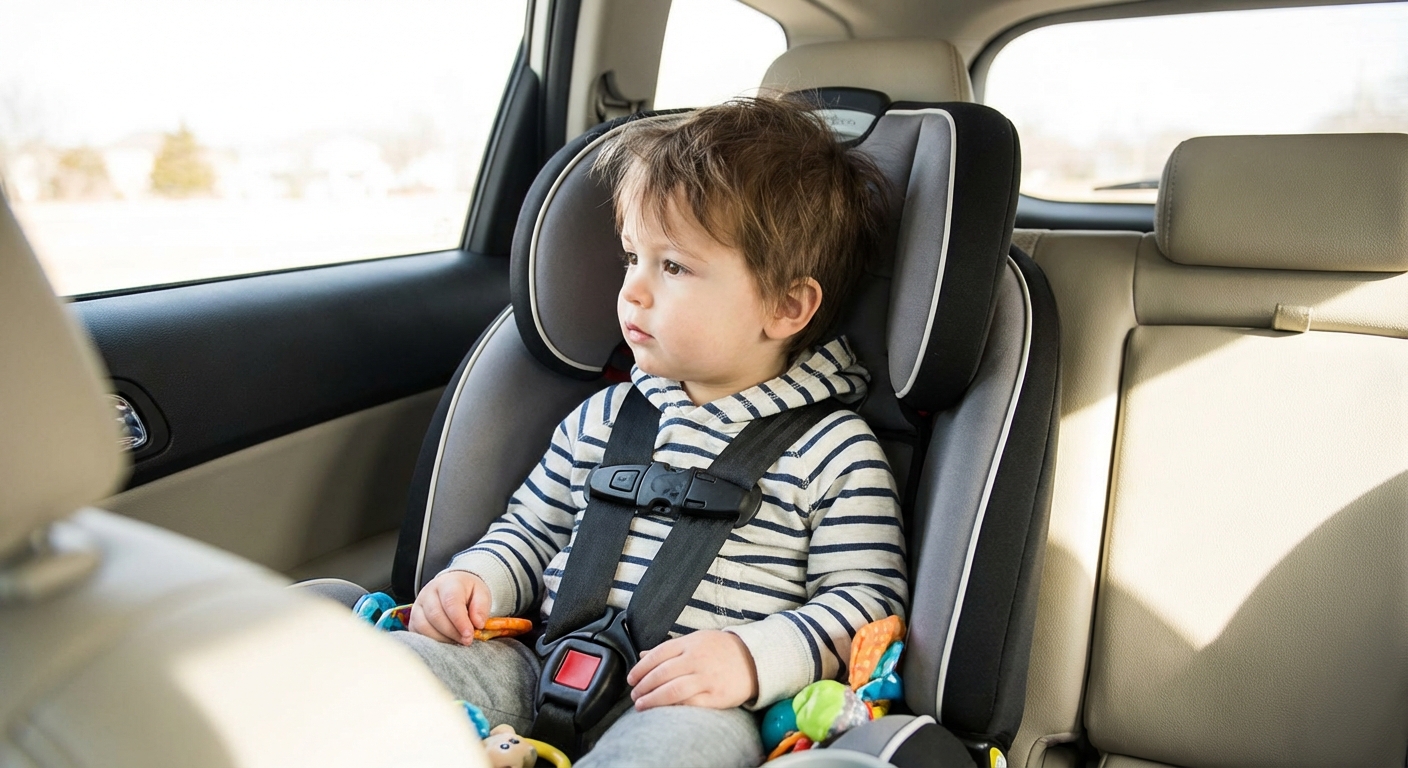
Stage 3: Forward-facing with harness (after outgrowing rear-facing limits)
Best for: Toddlers and preschoolers who have outgrown rear-facing limits.
- Use a 5-point harness as long as your seat allows, often to 50 to 65 lb (some higher).
- Move on when: Your child exceeds the seat’s forward-facing height or weight limit, or the top harness position is no longer correct per the manual.
Stage 4: Booster seat (after outgrowing a harnessed seat, often school-age)
Best for: Kids who are big enough to sit well, but the vehicle seat belt still does not fit correctly.
- Types: High-back boosters can be helpful if your car has low seat backs or no headrests. Backless boosters are fine when the vehicle seat provides proper head support.
- Typical starting point: Many kids are booster-ready around age 5 or 6 and at least 40 lb, but maturity matters a lot.
- Booster rule: Your child must be able to sit upright the whole ride without slouching, leaning, or putting the shoulder belt behind their back.
If your child still falls asleep and folds like a lawn chair, it is not a moral failing. It just means they likely need more time in a harnessed seat or a high-back booster with good belt positioning support.
Stage 5: Seat belt alone (often 10 to 12 years, and about 4 feet 9 inches)
Many kids are not ready for the seat belt alone until they pass the 5-step test in your specific vehicle seat. Height helps, but fit is everything. Some kids need a booster longer depending on your vehicle’s belt geometry and the way your child sits.
The 5-step seat belt test
- Back: Can your child sit all the way back against the vehicle seat?
- Knees: Do their knees bend naturally at the edge of the seat without slouching?
- Lap belt: Does it sit low across the upper thighs, not on the belly?
- Shoulder belt: Does it cross the middle of the shoulder and chest, not the neck or face?
- Stay put: Can they stay like this for the whole ride, even when sleepy?
If you answered “no” to any step, stick with a booster.
Still keep them in the back seat until at least age 13. Airbags are designed for adults and can seriously injure younger kids in the front seat.
Quick fit checks for every ride
Harness fit (rear-facing and forward-facing harnessed seats)
- Snug test: You should not be able to pinch slack at the shoulder strap.
- Chest clip: Place it at armpit level. Its job is pre-crash positioning, which helps keep the straps where they belong.
- Strap height: Rear-facing: straps usually come from at or below shoulders. Forward-facing: straps usually come from at or above shoulders. Always follow your seat manual for your model.
- Straps flat: Make sure straps are not twisted and lie flat on the body.
- No bulky coats: Puffy winter coats can create hidden slack. Use thin layers, then buckle, then place a blanket or coat over the top if needed.
Booster fit
- Lap belt low on thighs, not belly.
- Shoulder belt on shoulder, not neck and not slipping off the arm.
- No tucking behind the back and no putting it under the arm.
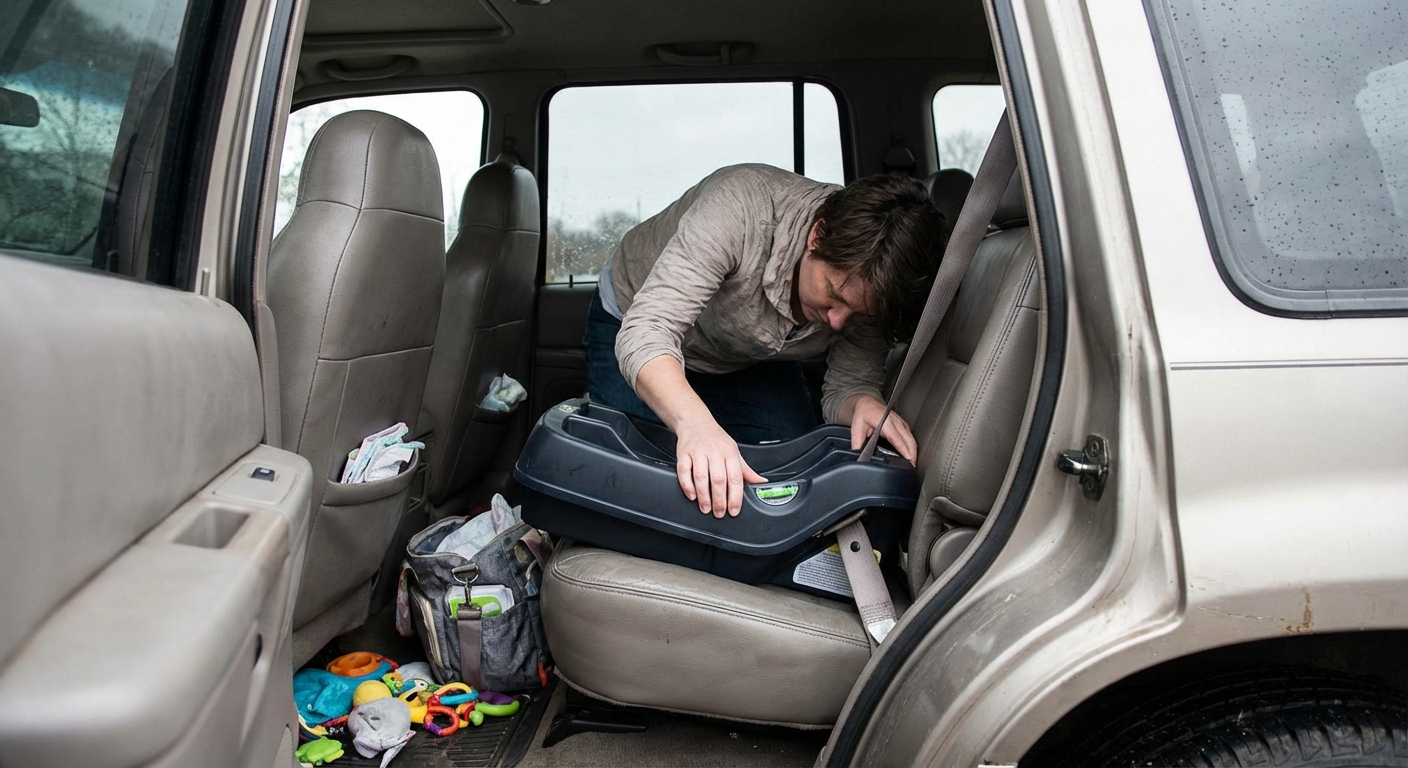
Common installation mistakes I see all the time
In triage, I met plenty of loving, attentive parents who were simply given confusing information. These are the mistakes worth watching for because they are common and fixable.
- Too loose at the belt path. Your car seat should not move more than 1 inch side-to-side or front-to-back when you tug at the belt path.
- Using LATCH and the seat belt together when the manufacturer does not allow it. Most seats require one or the other, not both.
- Not knowing the LATCH weight limit. Limits may be listed as a child-weight limit (often 40 to 50 lb) or as a combined child plus seat limit (varies by vehicle and seat). Check both manuals so you know when to switch to a seat belt install.
- Incorrect recline angle for rear-facing. Too upright can cause head flop in young infants. Too reclined can reduce crash protection. Use the seat’s angle indicator and permitted recline positions.
- Twisted straps. Twists can change how crash forces spread across the body.
- Chest clip too low (belly level) or too high (near the neck).
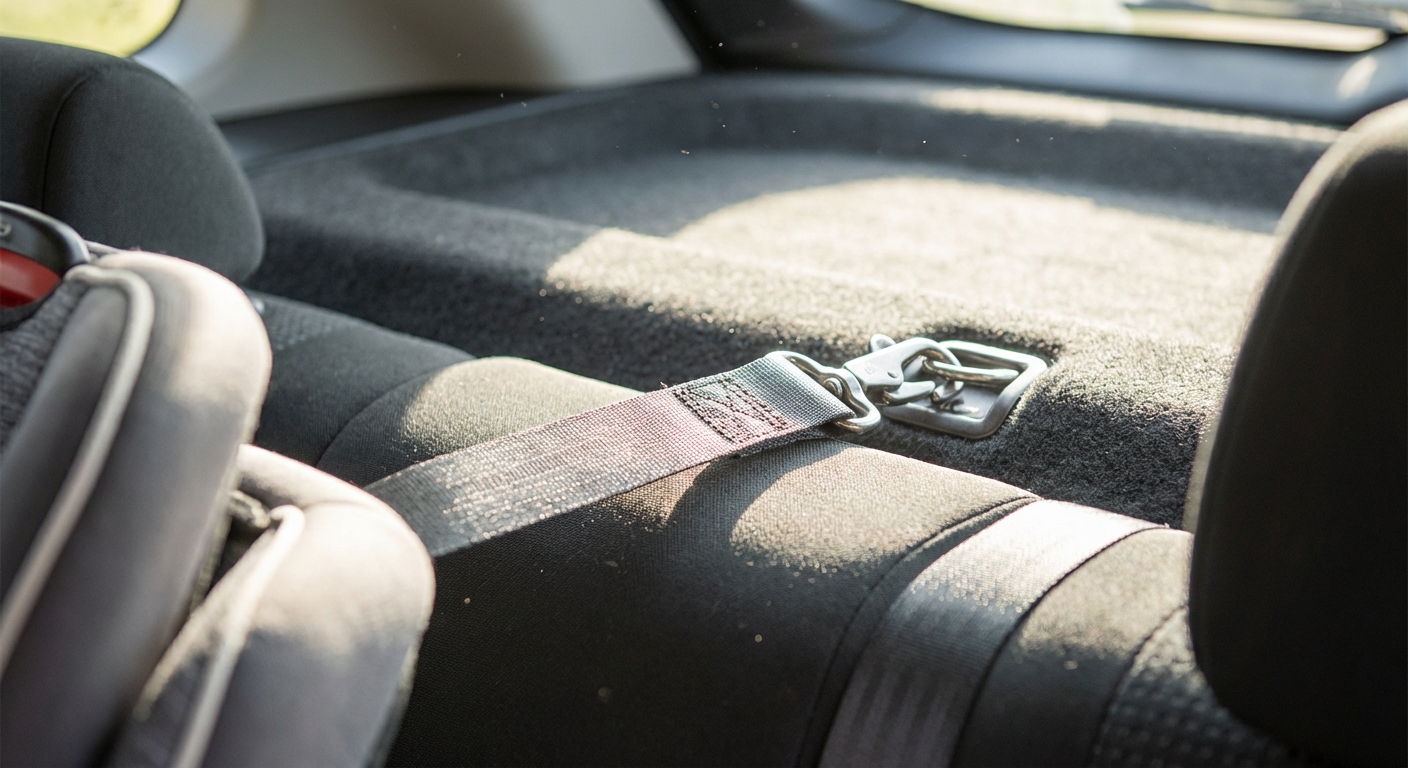
- Forward-facing without the top tether. In most forward-facing harnessed installations, the top tether significantly reduces head movement. Use it unless your manual says otherwise.
- Aftermarket add-ons. Head positioners, strap covers, mirrors, and inserts not approved by your seat’s manufacturer can interfere with how the seat performs in a crash.
- Three-across squeezes. If you are trying to fit three seats in one row, do not assume any combination will work. Check your vehicle manual, your car seat manuals, and consider a CPST to help confirm a secure, compatible install.
Where should the car seat go in the car?
- Back seat, always when possible. It is safest for all kids and especially for rear-facing seats.
- Center seat can be great if you can get a tight install there and your vehicle allows it. If you cannot get it secure, a properly installed seat outboard is safer than a wobbly one in the middle.
- Do not install a rear-facing seat in front of an active airbag.
State law basics (and why the label still wins)
Car seat laws vary by state, and they are often written in broad strokes like “until age X” or “until Y pounds.” Here is the part that matters most:
Best practice is usually stricter than the law. When law and best practice differ, follow your car seat manual and AAP safety recommendations, unless your state law requires more.
Most states include requirements similar to:
- Rear-facing for infants and young toddlers (some states specify age 1 or 2).
- Forward-facing with a harness after outgrowing rear-facing.
- Booster use until a certain age or height (often at least age 8, but it varies).
- Back seat preference or requirements for younger children in some states.
Your next step: Check your state’s official DMV or highway safety site for the most current wording, then use the stricter option between the law and your seat’s limits.
When to replace a car seat
- After a crash: Follow your car seat manufacturer’s rules. NHTSA also states some seats may be reused after a minor crash if specific criteria are met, but many manufacturers still require replacement after any crash. When in doubt, replace it and confirm with your manual and insurance.
- At expiration: Car seats expire, commonly 6 to 10 years from manufacture. Find the date sticker on the seat.
- If the history is unknown: Avoid secondhand seats if you cannot verify they were never in a crash and are not recalled.
Register your seat for recalls
This is the 2-minute step almost nobody feels like doing, and it matters. Register your car seat with the manufacturer (online or by mailing the included card) so you will receive recall and safety notice alerts. Recalls are not common, but when they happen, you want to know quickly.
Get help if you are unsure
If you want a second set of eyes, look for a certified Child Passenger Safety Technician (CPST). Many fire departments, hospitals, and local health departments offer checks, but availability varies and some require appointments.
If you are troubleshooting tonight, use these reliable starting points:
- Your car seat manual (seriously, it answers most questions).
- Your vehicle manual for seat belt locking, lower anchors, and tether locations.
- NHTSA car seat guidance (National Highway Traffic Safety Administration).
- AAP car seat recommendations for best-practice milestones.
And if you take one thing from this article, let it be this: the safest car seat is the one that fits your child, fits your car, and you can use correctly every single time. You are allowed to keep it simple.